Symptoms:
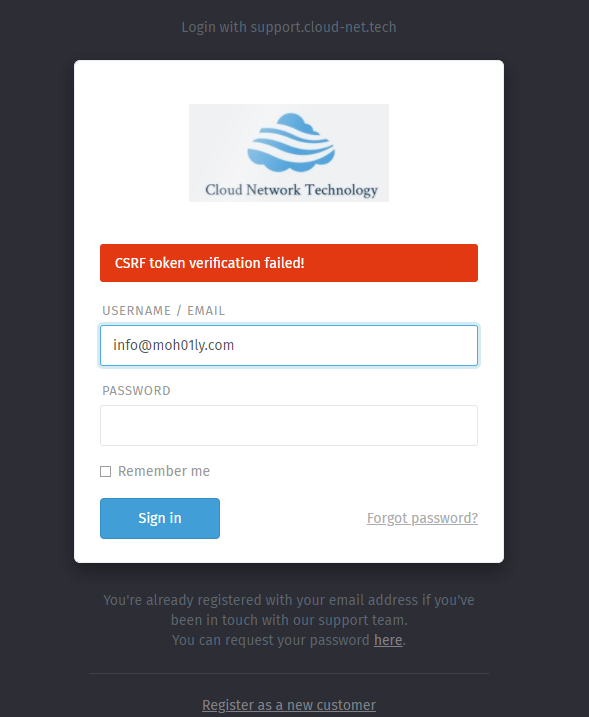
Right after a fresh installation of Zammad you implement Let’s Encrypt and you are unable to login to your Zammad portal due to the following error.
CSRF token verification failed!
Cause:
When you install Zammad, it’ll automatically create a zammad.conf file under the path /etc/apache2/sites-enabled.
Until this moment your web page should be functioning normal, the problem starts when you implement the Let’s Encrypt certificate which creates another .conf file that would corrupt the web server and cause the error you’re having.
Solution:
To solve this problem simply, change the extension of the zammad-le-ssl.conf file into something else other than .conf and restart apache or nginx.


Solution 2:
You need to uncomment the “ServerTokens Prod” part in your configuration file if the solution 1 doesn’t work.
Solution 3:
Beneath the SSO Setup you need to make sure to change the RequestHeader set X_FORWARDED_PROTO ‘http’ to https as in the below line.
After you apply all those, you need to restart both apache and zammad services.
Here’s a working configuration of Zammad
# security - prevent information disclosure about server version

ServerTokens Prod


<VirtualHost *:80>

    ServerName support.cloud-net.tech

    Redirect permanent / https://support.cloud-net.tech

</VirtualHost>


<VirtualHost *:443>

    SSLEngine on

    SSLProtocol all -SSLv2 -SSLv3

    SSLCipherSuite EECDH+AESGCM:EDH+AESGCM:AES256+EECDH:AES256+EDH


    SSLCertificateFile /etc/letsencrypt/live/support.cloud-net.tech/fullchain.pem

    SSLCertificateKeyFile /etc/letsencrypt/live/support.cloud-net.tech/privkey.pem

    SSLOpenSSLConfCmd DHParameters /etc/ssl/dhparam.pem


    ## don't loose time with IP address lookups

    HostnameLookups Off


    ## needed for named virtual hosts

    UseCanonicalName Off


    ## configures the footer on server-generated documents

    ServerSignature Off


    ProxyRequests Off

    ProxyPreserveHost On


    <Proxy 127.0.0.1:3000>

      Require local

    </Proxy>


    ProxyPass /assets !

    ProxyPass /favicon.ico !

    ProxyPass /apple-touch-icon.png !

    ProxyPass /robots.txt !

    ProxyPass /ws ws://127.0.0.1:6042/

    ProxyPass / http://127.0.0.1:3000/


    # change this line in an SSO setup

    RequestHeader unset X-Forwarded-User

    RequestHeader set X_FORWARDED_PROTO 'https'


    # Use settings below if proxying does not work and you receive HTTP-Errror 404

    # if you use the settings below, make sure to comment out the above two options

    # This may not apply to all systems, applies to openSuse

    #ProxyPass /ws ws://127.0.0.1:6042/ "retry=1 acque=3000 timeout=600 keepalive=On"

    #ProxyPass / http://127.0.0.1:3000/ "retry=1 acque=3000 timeout=600 keepalive=On"


    DocumentRoot "/opt/zammad/public"


    <Directory />

        Options FollowSymLinks

        AllowOverride None

    </Directory>


    <Directory "/opt/zammad/public">

        Options FollowSymLinks

              Require all granted

    </Directory>

</VirtualHost>
Hope this helps