If you’re looking for an quick way to let all your users easily add all Skype for Business users to their list after migration from Lync 2010/2013/Skype4business to Office 365 Skype for Business then please follow these steps ..
In order to do so, you will have to have DirSync (Azure AD Sync) installed and functioning properly.
First step: Add a group to AD
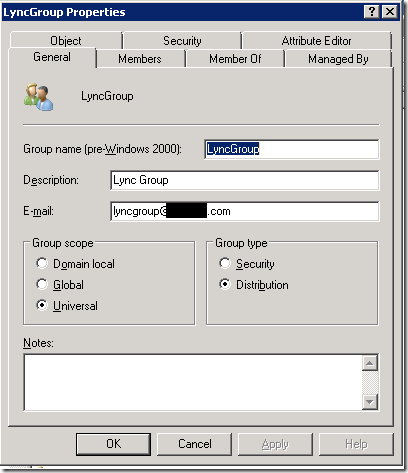
On Local AD create a Universal Distribution group as following
Note:
The group must have an e-mail address entered in the Email field otherwise it won’t show up in Lync Client list when you search.
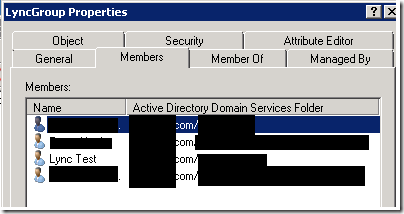
Go to Members tab and add all the users that you are planning to Enable on Skype4Business.
Apply and close the group.
Go to DirSync
Force the Sync
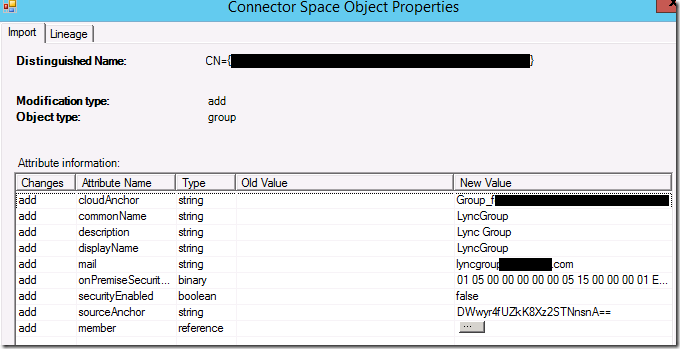
Make sure that group has been Synced.
In office 365. You can check If the group is there or not by simply navigating to the Groups tab on the left pane.
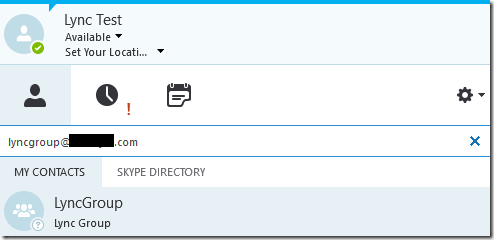
Now Open Lync 2013 or Skype 4 Business client and search for this group by email
Right click the group and click Add to contacts
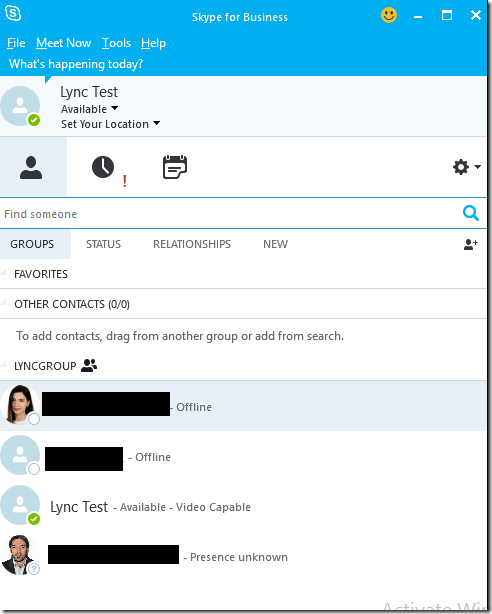
As soon as you add the group, all the members will come beneath it right away.


Thank you so much I needed to know this!
When I add the group. it always shows PRESENCE UNKOWN.
how to fix this? thank you.